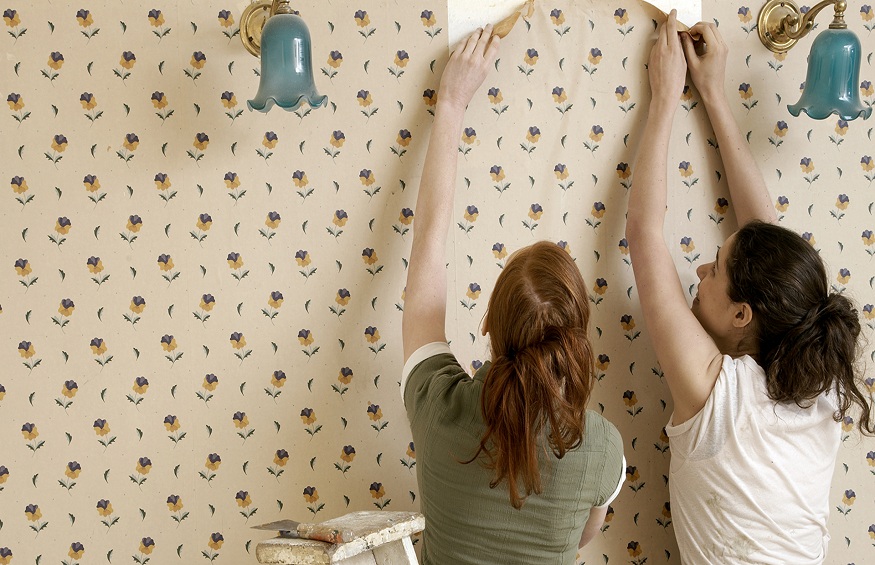
Removing wallpaper can be an intimidating task for many, but with the correct supplies and a thorough guide, it can be a rewarding DIY project. This blog post will provide a comprehensive, step-by-step guide to help you figure out how to remove wallpaper from your walls.
It is important to note that the success of the wallpaper removal project will depend on getting the right supplies, so make sure you have all the necessary tools on hand before you begin the process. These tools include a putty knife, a spray bottle filled with warm water and a wallpaper removal solution, a steamer, and a sponge. Additionally, you’ll want to have a pair of gloves and safety goggles to protect your hands and eyes.
Step 1: Assemble the Necessary Supplies
The first step in the wallpaper removal process is to make sure you have all of the necessary tools for the job. You’ll need a putty knife, a spray bottle filled with warm water and a wallpaper removal solution, a steamer, and a sponge. Additionally, it is a good idea to have a pair of gloves and safety goggles on hand to protect your hands and eyes from any potential debris or irritants.
Step 2: Prepare the Wallpaper
Using the putty knife, score the wallpaper in an X pattern to ensure the wallpaper removal solution will penetrate the material and make it easier to remove. Then, spray the wallpaper with the warm water and wallpaper removal solution. Allow the solution to sit and soak into the wallpaper for a few minutes, to ensure the adhesive is thoroughly loosened.
Step 3: Utilize a Steamer
Once the solution has saturated the wallpaper, it’s time to use the steamer. Move the steamer slowly over the wallpaper and let the steam penetrate the material, helping to further loosen the adhesive. Make sure to steam the entire wall to make sure all the adhesive is completely loosened.
Step 4: Remove the Wallpaper
Once the wallpaper has been steamed, use the putty knife to begin removing the wallpaper from the wall. Try to remove as much of the wallpaper as possible in one piece, as this will make the job easier and less time consuming. If you find that some of the wallpaper is too difficult to remove, you may need to re-steam the area and repeat the process.
Step 5: Eliminate Residue
If there are still pieces of wallpaper stuck to the wall, use the putty knife to carefully scrape them off. If there is still adhesive residue on the wall, use a damp sponge and warm water to remove it. Be sure to rinse the sponge as necessary to prevent the residue from spreading.
Step 6: Clean the Walls
Once you’ve finished removing the wallpaper and all the residue, you’ll need to clean the walls. Use a damp cloth or a sponge to remove any dust or dirt from the walls. Be sure to pay special attention to corners and edges, as well as any small crevices, to ensure all dirt and debris is removed.
Step 7: Prime and Paint
Once the walls have dried, you can now prime and paint. Make sure to use a primer that is suitable for the type of paint you’ll be using, as this will help ensure an even and long-lasting finish. To ensure the best coverage, use an even coat of primer and allow it to dry before painting.
Conclusion
Removing wallpaper can be a lengthy process, but with the right tools and instructions, you can do it yourself and save a lot of money. Use the steps outlined in this blog post to help guide you through the wallpaper removal process and complete a successful project.