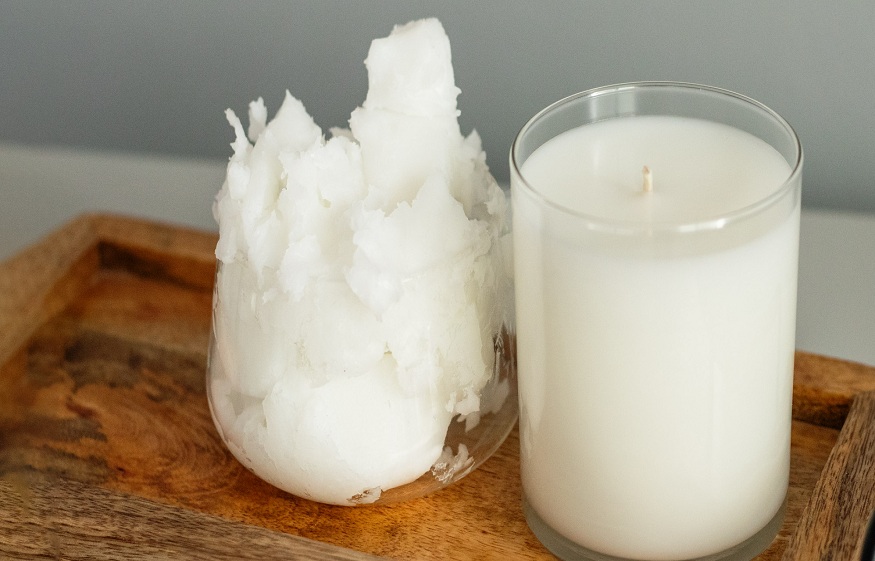
Do you want to make candles from scratch? This is the place for you. Today we will show you everything you need to create paraffin wax candles at home. Most people associate wax in any form with paraffin wax. It is one of the most widely used and versatile waxes today.
Paraffin Wax Is A Great Choice For Candle-Making
Most people associate paraffin wax for candle making. It is one of most versatile and common waxes for candle-making. Take a look at these benefits:
Outstanding Hot Throw: When the paraffin candle is lit, it releases a pleasant scent into the atmosphere. The candle smells strong even after burning.
High Fragrance Allowance: Paraffin wax can hold a higher scent load than beeswax or soy. This allows us to create stronger and more lasting scents. The paraffin wax candle is usually able to cover a room in 15-20 minutes when it is burned.
High Color Range: Paraffin wax is colourless. You can make handmade candles of every colour with this wax and any mica colourants or candle dyes.
Great Adhesion: The most efficient viscosity regulator is Paraffin Wax. It can lower the melting viscosity of hot-melt adhesives, increase fluidity, wettability, and bonding strength, prevent caking, increase surface hardness, and lower costs.
Fully Customizable: The versatility of paraffin wax makes it easy to customize. This wax can also be used to make decorative candles, such as tealight candles, jar candles and pillar candles.
How ToMake DIY Paraffin Candles At Home – Step By Step
For making candles at your home, there are six steps you can follow. Let’s get started.
Step 1: Melt The Wax
You can make paraffin wax into shavings or bits by cutting it. Less wax melts faster than more significant portions. This will ensure that wax melts evenly if you use smaller portions.
Half-fill large or medium pots with water. It is important that the pot can hold a smaller container. You’ll melt the wax with the vessel in an improvised double boiler.
Step 2: Wax Melting Process
Place the paraffin wax shreds or chunks in a smaller container. This container can be placed inside the larger one to make a temporary boiler. You should keep in mind that candle wax may catch fire or evaporate if exposed to heat.
Turn the heat on high to bring water to a boil. It is possible to make candles using a saucepan that is low-cost and heat-safe.
Step 3: Personalize Your Candle Wax
To scent your melted wax, you can use essential oils. It is up to you which scent you choose, but you can also use vanilla or lavender essential oils. Because essential oils aid in aromatherapy, it is best to include them in candles. You should thoroughly mix everything.
Step 4: Molding The Wax
Place a Pre-waxed tabbed candle wick in the centre of the candle moulds. Tins, mason jars, teacups, and any other heat-resistant container that you have at hand are all options. The candle wick should go in the middle of your candle mould, two inches away from the edge. The wick tab can be used to secure the wick to your jar’s bottom.
Step 5: Let The Wax Cool
Let them cool for 24 hours, if possible. They will become more stable the longer they are left to cool. Paraffin candles take around 24 hours to cool.
Step 6: Light Your Candle Wax
The candle wax can be burned once it has completely cooled and solidified. Tunnelling can be minimized by lighting the candle for between 30 and 45 minutes.